Nissan GT-R Forum banner

DIY700 - 700hp on a Budget

1 reading
247K views 947 replies 152 participants last post by  240Z TwinTurbo  
#1 · (Edited by Moderator)
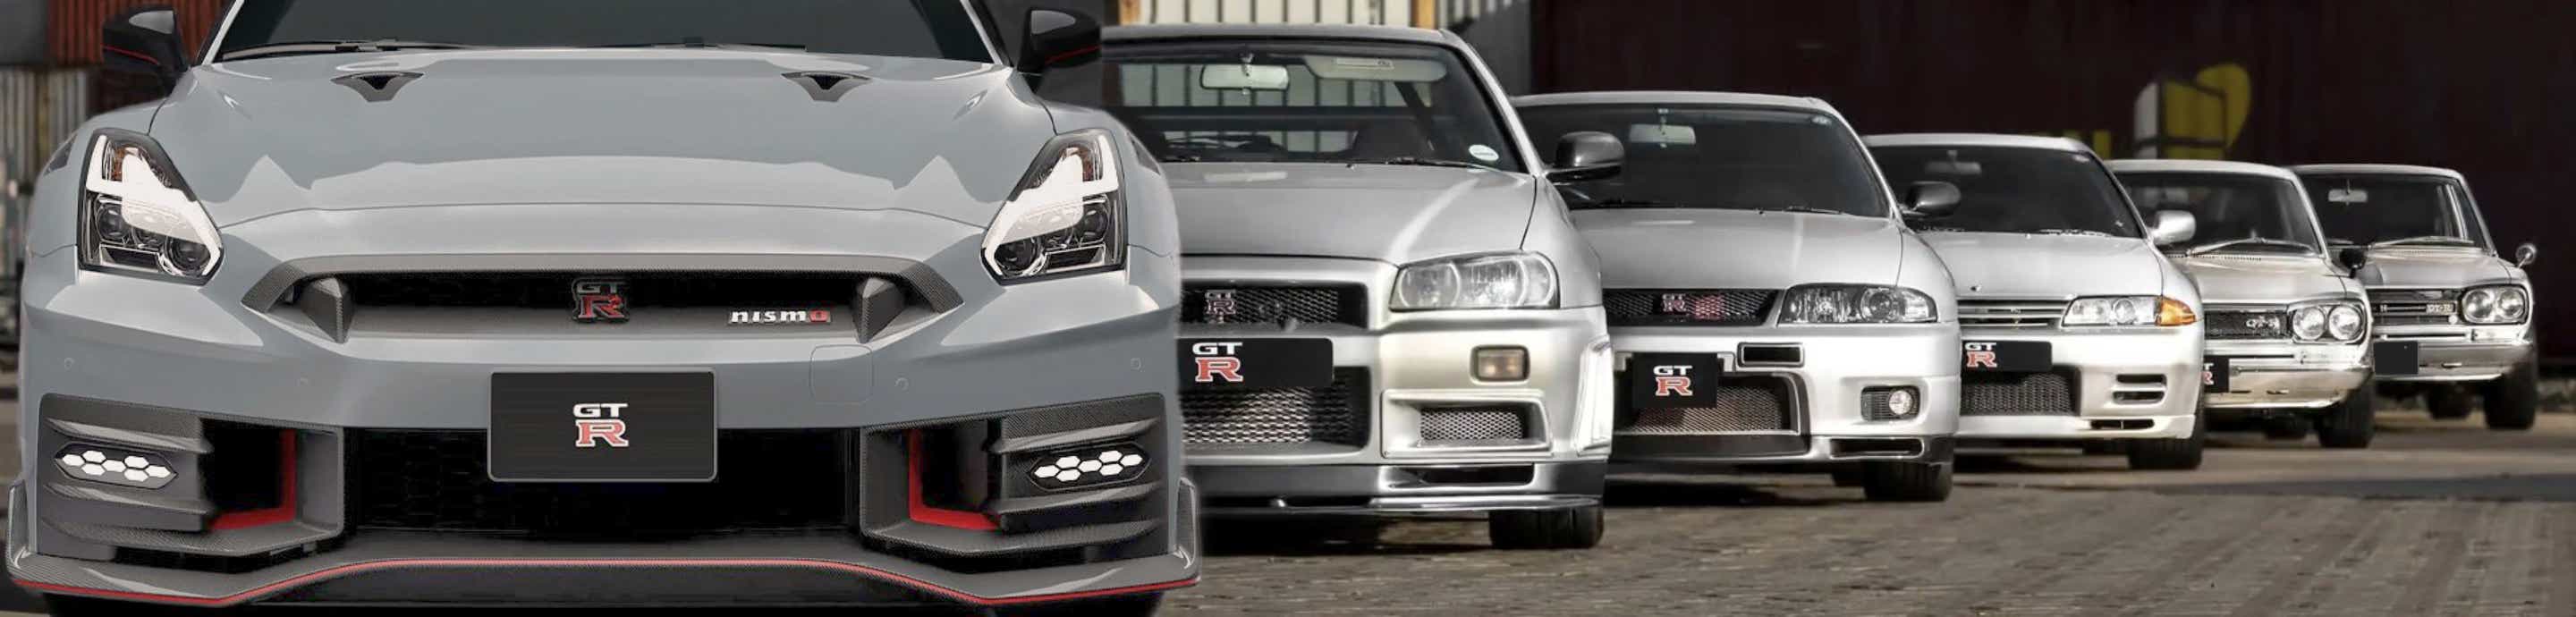
I purchased my 2009 GTR Premium (~5,600 miles) 3 weeks ago from a buddy of mine and have been accumulating parts for my build. The car came with a Cobb catless midpipe and Cobb V2 Accessport. I have been fabricating and tuning for ~16 years and do most of my work in the garage. You can check out the links in my signature documenting my EVO IX build and results.

The goal of my build is to make 580+whp for under $3K so I will be providing pricing information and detailed pictures for each step. Below is my mod list and build plan:

Phase I
- DIY 3" intake with high flow filters ($170)
- DIY 3.5" exhaust (from Cobb midpipe to stock exhaust where it splits into two) ($186)
- Cobb AccessTUNER Race ($695)
- Baseline tune - ME TUNED
- ID1000cc injectors ($375 shipped - used 2400 miles)
- Denso 265lph pumps ($300 shipped)
- Baseline dyno run on Dynojet

Phase II
- Curt Brown Ported 2013 turbo inlets ($450)
- Curt Brown Ported intake manifold ($500)
- Tune - ME TUNED
- Dyno run on Dynojet (before/after results with Curt Brown ported components)

Phase III
- DIY front mount intercooler
- DIY intercooler piping
- Tune - ME TUNED
- Dyno run on Dynojet (final results)

So I started the build today with the DIY 3" intake with the components as follows:
- two 3" 30deg mandrel bent aluminum tubes (purchased from CX Racing Ebay store for $60 shipped)
- two 45deg silicone transition tubes 60mm to 76mm (purchased from best.racing-building Ebay store for $29 shipped)
- two used K&N RU-5111 filtes from forum member ($30 shipped, used for mockup and determining custom filter size)
- two aluminum MAF flanges from GM# 19166574 ($26 from GM)
TOTAL COST: $170 (assuming new RU-5111 filters - $55)

The quality of the tubes from CX Racing are top notch and come polished.
Image

Image


I started on the drivers side by removing the stock intake box. In order to gain clearance for the silicone tube you need to flip the harness connector so that it places the harness on the backside of the bracket as shown below.
Image


I then installed the 45deg coupler and installed the tube to determine fit. The aluminum tubes come with ~9" legs and the leg on the turbo side is left alone and I only needed to cut the filter side. The tube is a 30deg bend, but to make it come out the front perfectly straight it would need to be ~26-27deg bend. No big deal as it just angle the filter front towards the center of the car or you can use a 3-4deg cut to make the filter face straight. I will be running the filters slightly angled as it creates more room for a longer filter.
Image
Image


For the driver's side pipe I had to cut off ~2.5" to make the filter fit.
Image


Made a simple cut and the intake is done (minus maf) so you can see the outcome below.
Image

Image


On to the passenger side pipe using the same approach. The only difference is that I had to modify the bracket holding the harness and ground wire. Essentially, I cut the bracket to shorten it and then TIG'd it back together to gain clearance for the silicone coupler.
Image

Image

Image

Image

Image


Repeated the cutting and fitting for the passenger side pipe.
Image

Image

Image


I have a total of 2hrs invested at this point which included removing and reinstalling the stock airboxes. I will weld on the flanges Friday to show the finished product. The next mod will be injectors and pumps.
 
#168 ·
Looking at your boost vs my Stage 1.5 boost (just a midpipe)

Image


Image


I hit 16psi at about 2700 rpm vs 3000 rpm in your pull.. and I suspect that is in part due to the additional load I have calibrated on the dyno. (and as you suggested I may have started at an earlier RPM)

It would be interesting to compare the time it takes to go from 3000-6000 rpm on the dyno vs the road. It is hard to get it spot on, by I have tried to get it to be close. I know there are several different versions of the dynojet with different weight (and thus rotational inertia) drums. Through the years I have found that with really high HP setups having a quick dyno pull (because you can't add load) can lead to timing that works on the dyno but not on the road.

Great thread btw, and I'm glad to see other people doing their own tuning and parts building.

Jeff
 
#169 · (Edited by Moderator)
It would be interesting to compare the time it takes to go from 3000-6000 rpm on the dyno vs the road. It is hard to get it spot on, by I have tried to get it to be close. I know there are several different versions of the dynojet with different weight (and thus rotational inertia) drums. Through the years I have found that with really high HP setups having a quick dyno pull (because you can't add load) can lead to timing that works on the dyno but not on the road.

Jeff
Send me a PM with your e-mail and I will send you a log in 3rd driving steady state on a flat road a 2K rpm, then full throttle to 6K rpm. We can the compare vs yours in log view. I would also be interested to see your intake cam timing curve if you are willing to share. I spent minimal time on this, but my map is shown below.

Image
 
#171 ·
I played around with the intake cam timing on the street using various timing curves from the various Cobb maps and then using Virtual Dyno and log view to create a hybrid map. Here is the link from earlier in this thread.

http://www.gtrlife.c...60#entry1366034
 
#173 · (Edited by Moderator)
Thanks for posting the comparative information. As you said there is likely a small shift of my boost curve to the left due to starting rpm, but the curve is definitely steeper, which clearly shows quicker spool on your setup. I look forward to seeing any results if you start playing around with your intake cam timing. I didn't specifically look at your 93 vs E85 timing curves, but in the EVO community you can typically run 2-3deg timing increase off boost ramped down to 1-2deg increased timing at peak torque and then linearly add 8-10deg from peak torque to redline.

Your car clearly kicks my car's butt accelerating in 3rd gear so this inspires me to keep going. I am curious as to why you car holds more boost at higher rpm as I have the wastegate duty cycle pegged at 5800 rpm and it produces less boost than yours.
Image
 
#177 ·
I'm not following this logic. could you explain what you mean by more volume of charge?
 
#180 ·
Yep this I knew. but I dispute that there is any extra energy in the exhaust available for the turbo on e85 vs pump.
 
#182 · (Edited by Moderator)
We need to think in terms of specific gravity because if the density of an E85 charge is greater than the density of a 93oct charge then you are putting more molecules of stuff into the engine per a given volume. We also know that E85 will have a localized cooling affect on the charge so that will have the potential to increase density of air entering the engine. Below are some back of the envelope calculations and feel free to criticize my math and approach.

Specific Gravity
E85 = ~0.80g/cm3
93 = ~0.72g/cm3

% Fuel at Stoich
E85 = 9.8:1 (10.2% @ 0.80g/cm3)
93 = 14.7:1 (6.8% @ 0.72g/cm3)

We need to know a good estimate for the specific gravity of a compressed charge from a turbo, but let's assume 1.0g/cm3 for now.

Density of Charge for 1g/cm3
E85 = (89.8% x 1g/cm3) + (10.2% x 0.80g/cm3) = 0.898g/cm3 + .0816g/cm3 = 0.980g/cm3
93 = (93.2 x 1g/cm3) + (6.8% x 0.72g/cm3) = 0.932g/cm3 + 0.04896g = 0.981g/cm3

So with no compensation for cooling and assuming specific gravity values at a fixed temperature the density of an E85 charge is equivalent to the density of a 93 octane charge. If my numbers and mathematical approach are correct the gains will have to come from charge density,which will be based on the cooling affect of the charge with E85 and any potential density affect of the fuel if the e85 fuel temperatures are lower post fuel injector.

Based on this back of the envelope calculations I suspect the E85 charge will be more dense and put more molecules of stuff into the engine contributing to an increased combustion. This would have the potential to affect the response of the turbocharger.
 
#183 · (Edited by Moderator)
avogadro says: equal volumes of gases under the same temp and pressure have the same number of molecules.
 
#185 ·
It would be nice to nail this down once and for all... for at least 10 years I have read reports and seen graphs showing faster spool on methanol, in particular, and e85 to a lesser degree. There are lots of theories floating around of which I'll try to summarize:

1) The lower stoich fuels add more mass to the charge (same amount of air but greater amount of fuel) and this extra mass aids spool
2) Alcohol fuels make similar torque but with richer mixtures and the richer mixtures allow more post-cylinder burn in the exhaust that aids spool
3) Due to the slower burn, alcohol fuels require more timing, so if the original gas-optimized timing is not advanced during the spool region, this will actually amount to more retarded timing (effectively) and therefore may increase EGTs and improve spool

This must be balanced against:

4) Alcohol fuels will, all else being equal, tend to lower EGTs which would hurt spool

So my theory is that a combination of maximizing 1, 2, and 3 without letting 4 trip you up is where the gains will come... But college physics was almost 20 years ago, so let's discuss lol.
 
#186 · (Edited by Moderator)
It would be nice to nail this down once and for all... for at least 10 years I have read reports and seen graphs showing faster spool on methanol, in particular, and e85 to a lesser degree. There are lots of theories floating around of which I'll try to summarize:
1) The lower stoich fuels add more mass to the charge (same amount of air but greater amount of fuel) and this extra mass aids spool
2) Alcohol fuels make similar torque but with richer mixtures and the richer mixtures allow more post-cylinder burn in the exhaust that aids spool
3) Due to the slower burn, alcohol fuels require more timing, so if the original gas-optimized timing is not advanced during the spool region, this will actually amount to more retarded timing (effectively) and therefore may increase EGTs and improve spool

This must be balanced against:

4) Alcohol fuels will, all else being equal, tend to lower EGTs which would hurt spool

So my theory is that a combination of maximizing 1, 2, and 3 without letting 4 trip you up is where the gains will come... But college physics was almost 20 years ago, so let's discuss lol.
I think #1, at least in the case of E85, is insignificant. #2 is equally off base, as from the point of view of stoichiometry the ethanol mixtures are typically much tuned to a leaner lambda then with gasoline. The mass of the fuel is more (and the remaining un-combusted fuel would also have more mass, but no more real combustible energy) There is very little post combustion fuel, and certainly less than with gasoline. #3 is far more likely to lead somewhere. The tune changes with E85, even if you do not change the tune. With a change in burn rate you will have different temperatures of exhaust gases, different pressure differentials, combustion pressures, and a host of other small effects. This might be hard to really model.

I do, however, have a real solution to this problem.

I can just fill my tank with pump fuel and test this out. I'll let my current E85 tank run down and I'll switch back to pump fuel and do a test on the same road, same 3rd gear, same boost. That will give us a real answer, really quick.

Jeff
 
#190 ·
Great fluid dynamics and thermodynamics refresher, thanks guys, coupled with real live testing.... priceless.
 
#192 ·
#193 ·
that graph of boost doesn't look good for those that believe e85 spools faster. in fact it shows the opposite.
 
#197 ·
what was the special saying? boost is how much air the engine *isn't* using...
 
#200 ·
Well your ignition timing doesn't increase over pump until about 3500, the Cobb graph has higher timing at 2500. who knows, at this point I would say that it is timing. It doesn't appear to spool faster, but it does make more power, so I would bet that power and torque gives the impression of quicker spool.
 
#204 ·
Here is a bit more data on spool up:

Image


This first graph is a look at spool up in 2nd, 3rd, and 4th gear on the road. All three runs started at the same RPM (about 1500). I didn't do 5th gear in this dataset, but is spools up even faster. This is part of the reason you really have to compare spool on the road not a dyno. Many dynos have different base rotational inertias, some have loading, and some people use 4th while other use 5. If you want to compare data, you need to use the same gear and do it on the same kind of road (flat). ... AND ...

Image


... you need to start at the same RPM. The second graph above shows 3rd gear spool on my GTR on the street starting at a collection of different RPMs. As James mentioned previously, it does in fact make a difference.

Cheers,

Jeff
 
#205 · (Edited by Moderator)
My 22.2" x 12.0" x 4.5" Bell Intercooler arrived yesterday at the fabrication shop. I decided to pay my buddies shop to build the end tanks for $250. If I had better access to a shear and brake I would have done the work myself, but my buddy if phenomenal at welding aluminum and has a full machine shop so it was a no brainer. I will have to fab the mounting points and will also have to fabricate the custom intercooler piping, but that is no big deal. The intercooler should be completed by the end of next week and I will post pictures.

Before I install the intercooler I really need to fabricate a good closed catch can setup so I don't blow oil into the intercooler. When I installed the inlet tubes I noticed a fair amount of oil in each turbo inlet. I also notice the intake gets a good amount of oil so I will need to put a closed catch can for the intake PCV. I have always fabricated my own catch cans, but thought the GTR needed some bling. I found some very nice catch cans from ADD W1 and they cost $76 a piece and look awesome.
http://gogoautoshop....h-tank-can.html
I am going to use separate cans for each turbo inlet and then a third can for the intake PCV. I should have these installed within the week, which will require fabricating custom aluminum brackets.

Image

Image

Image
 
#207 · (Edited by Moderator)
Before I install the intercooler I really need to fabricate a good closed catch can setup so I don't blow oil into the intercooler. When I installed the inlet tubes I noticed a fair amount of oil in each turbo inlet. I also notice the intake gets a good amount of oil so I will need to put a closed catch can for the intake PCV. I have always fabricated my own catch cans, but thought the GTR needed some bling. I found some very nice catch cans from ADD W1 and they cost $76 a piece and look awesome.
I am going to use separate cans for each turbo inlet and then a third can for the intake PCV. I should have these installed within the week, which will require fabricating custom aluminum brackets.
Nice looking catch cans. In the Subaru world I have done a lot of catch cans, and the only system that ever worked well is one that has a drainback into the engine. With just a simple inline can, the cans get oil in them which is then nicely distributed into all the incoming air (in a closed system). You can put a filter element in the path, but it gets dirty pretty fast. There is a system from Crawford that has both very good baffles (mechanical baffles inside the unit that are angled such that liquid will collect and then run to the bottom) and a good exit air system that limits pick up of any oil. They also drain back into the engine which reduces overall oil loss.

Any ideas if this is something worth considering?

(oh .. here is an xray and cross cut of that AOS (Air/Oil Seperator))

Image


Image


Image

Jeff
 
#208 · (Edited by Moderator)
Jeff, I do like that design. Part of the issue on the GTR is getting access to the oil drain can be a pain in the butt. I then have to figure out how to tie into the turbo oil drain. If I had the engine apart it would be much easier to just weld some bungs to the pan to implement a drainback system.

I ran a drain back system on my 240Z using a one way valve at the bottom of the can draining back to the oil pan. It is hard to see in the pic below, but it is the thing with two blue tubes attached bottom left quadrant.
Image


On the EVO I debated going back to the oil pan and added the drain fitting, but have yet to implement. In its current form I have great luck with just catching the oil using my own baffled design. I am not saying some oil residue doesn't leave, but it will fill up with various fluid including oil so an improvement vs nothing. I will do what I did with the EVO and add stainless steel pot scrubbers that you can buy at Walmart for $3 and they act like small baffles catching oil particles as the air exits. I will just pop these into my new ADD W1 and see what happens.
Image

Image

Image
 
#211 ·
On the EVO I debated going back to the can and added the drain fitting, but have yet to implement. In its current form I have great luck with just catching the oil using my own baffled design. I am not saying some oil residue doesn't leave, but it will fill up with various fluid including oil so an improvement vs nothing. I will do what I did with the EVO and add stainless steel pot scrubbers that you can buy at Walmart for $3 and they act like small baffles catching oil particles as the air exits. I will just pop these into my new ADD W1 and see what happens.
Image
Yea, that makes sense.

Is that hard line in the above picture coming out of the downpipe an exhausts gas pressure sensor? If so, is just a length of steel pipe enough to cool the air before hitting a sensor?

Jeff
 
#210 · (Edited by Moderator)
Just for you....car went 10.6@134 back in 2004 (twin 16g's @ 19psi, 125shot nitrous, powerglide)

BTW, the L-series engine was used in the original Skyline

Image

Image

Image

Image

Image

Image
 
#215 · (Edited by Moderator)
I finished the PCV and took a different approach to mounting vs what I had seen done. Using 1/4" aluminum I fabricated some cheesy brackets and installed the catch cans. Purchased ~5ft of 7/16" hose and finished the install. I still have to do the intake PCV catch can, but the turbo inlets are finished and cost ~$180 and about 2hrs of work.

Image

Image

Image

Image
 
#217 · (Edited by Moderator)
From the factory the intake manifold has a hose directly connecting the plenum to the crankcase and incorporates a one way valve so the intake does not pressurize the block under boost. If you pull the manifold you will find the intake manifold is lined with oil because it draws 5-15 inHg depending on the conditions. You want to utilize the intake manifold vacuum for all non boost PCV as the turbo inlets have zero affect when cruising. So yes, I advocate for a seperate catch can for the intake manifold vs the turbo inlets.
 
#219 ·
I sent the drawing over to my fabricator to have him start the intercooler fabrication. We will be using polished 5052 or 3003 1/8" aluminum sheet, depending on availability, for the tanks and 1/4" 6061 for the end caps for welding on the tubing. I asked him not to weld on the pipes as that is something I would rather do once mounted to the car so I have an exact fit. I gave him a delay on the timing and requested to have it hear on the 18th. Disregard the fact the bottom inlet tube is drawn to show it was ovaled as I decided to just butt a 2.5" tube to the outside of the tank to keep it round.

Image